Changing this option will reload the page immediately.
The printed circuit board (PCB) is the main control unit of your tumble dryer. If your Hoover dryer is not starting, not heating, or displaying error codes, a faulty PCB may be the cause. This guide will walk you through the process of safely replacing it.
Before starting any repair, ensure your safety.
Open the dryer door. Locate and remove the screws securing the control panel at the top of the door opening. Carefully lift the control panel upwards and forwards to disengage it. Support it to avoid straining the wires.
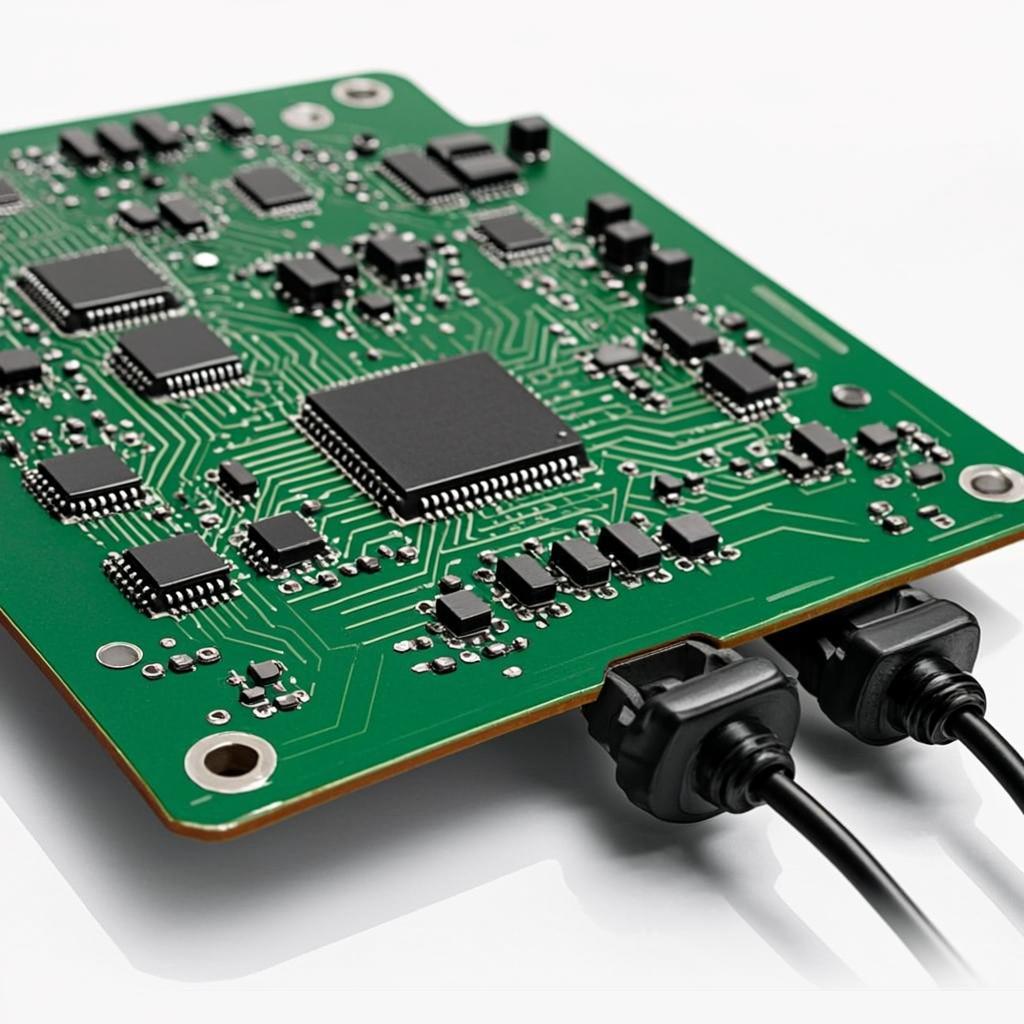
With the control panel exposed, you will see the PCB. Take a photo of all the wire connections for reference. Disconnect the wiring harness plugs from the board. You may need to release small plastic tabs. Also, disconnect any individual wires noting their positions.
Unscrew the PCB from its mounting bracket or the control panel housing. Carefully remove the old board.
Position the new PCB on the mounting bracket. Secure it with the screws. Reconnect all the wiring harnesses and individual wires exactly as they were on the old board, using your photo as a guide. Ensure every connection is firm.
Carefully reposition the control panel back onto the dryer, ensuring no wires are trapped. Secure it with the screws. Close the door.
Reconnect the dryer to the mains power. Run a short test cycle to verify that the new PCB is functioning correctly. Check that all buttons, displays, and the drying function work as expected.
If the dryer still does not work after replacement:
Replacing a tumble dryer PCB is a detailed but manageable task for a competent DIYer. By following these steps carefully and prioritizing safety, you can restore your Hoover dryer to working order. If you are unsure at any point, consult a qualified appliance repair technician.